I've been trying to find a way to control the USB LED lights inside my printer's enclosure without the need of additional smart plugs. This article shows how it's possible to do it with a Raspberry Pi.
Requirements
- USB LED Light Strip 5V
- Raspberry Pi 3B, 3B+ or 4B running OctoPi
For the Raspberry Pi 4B only; if the VL805 firmware is older than00137ad(check withsudo rpi-eeprom-update) you may have to update the firmware. Do it at your own risk!
Optional
- If you have a Tasmota supported device, you may want to install the OctoPrint-Tasmota Plugin as well.
This article won't cover how to install Tasmota or add it to OctoPrint but there's an excellent video showing how to on Daniel's Crosslink channel.
How does it work?
uhubctl is a utility that allows controlling USB power on USB hubs.
The USB ports on the Raspberry Pi are ganged power switching controlled, meaning, we can only turn on or off all the ports at once; so keep that in mind, especially if you have other USB devices connected to it.
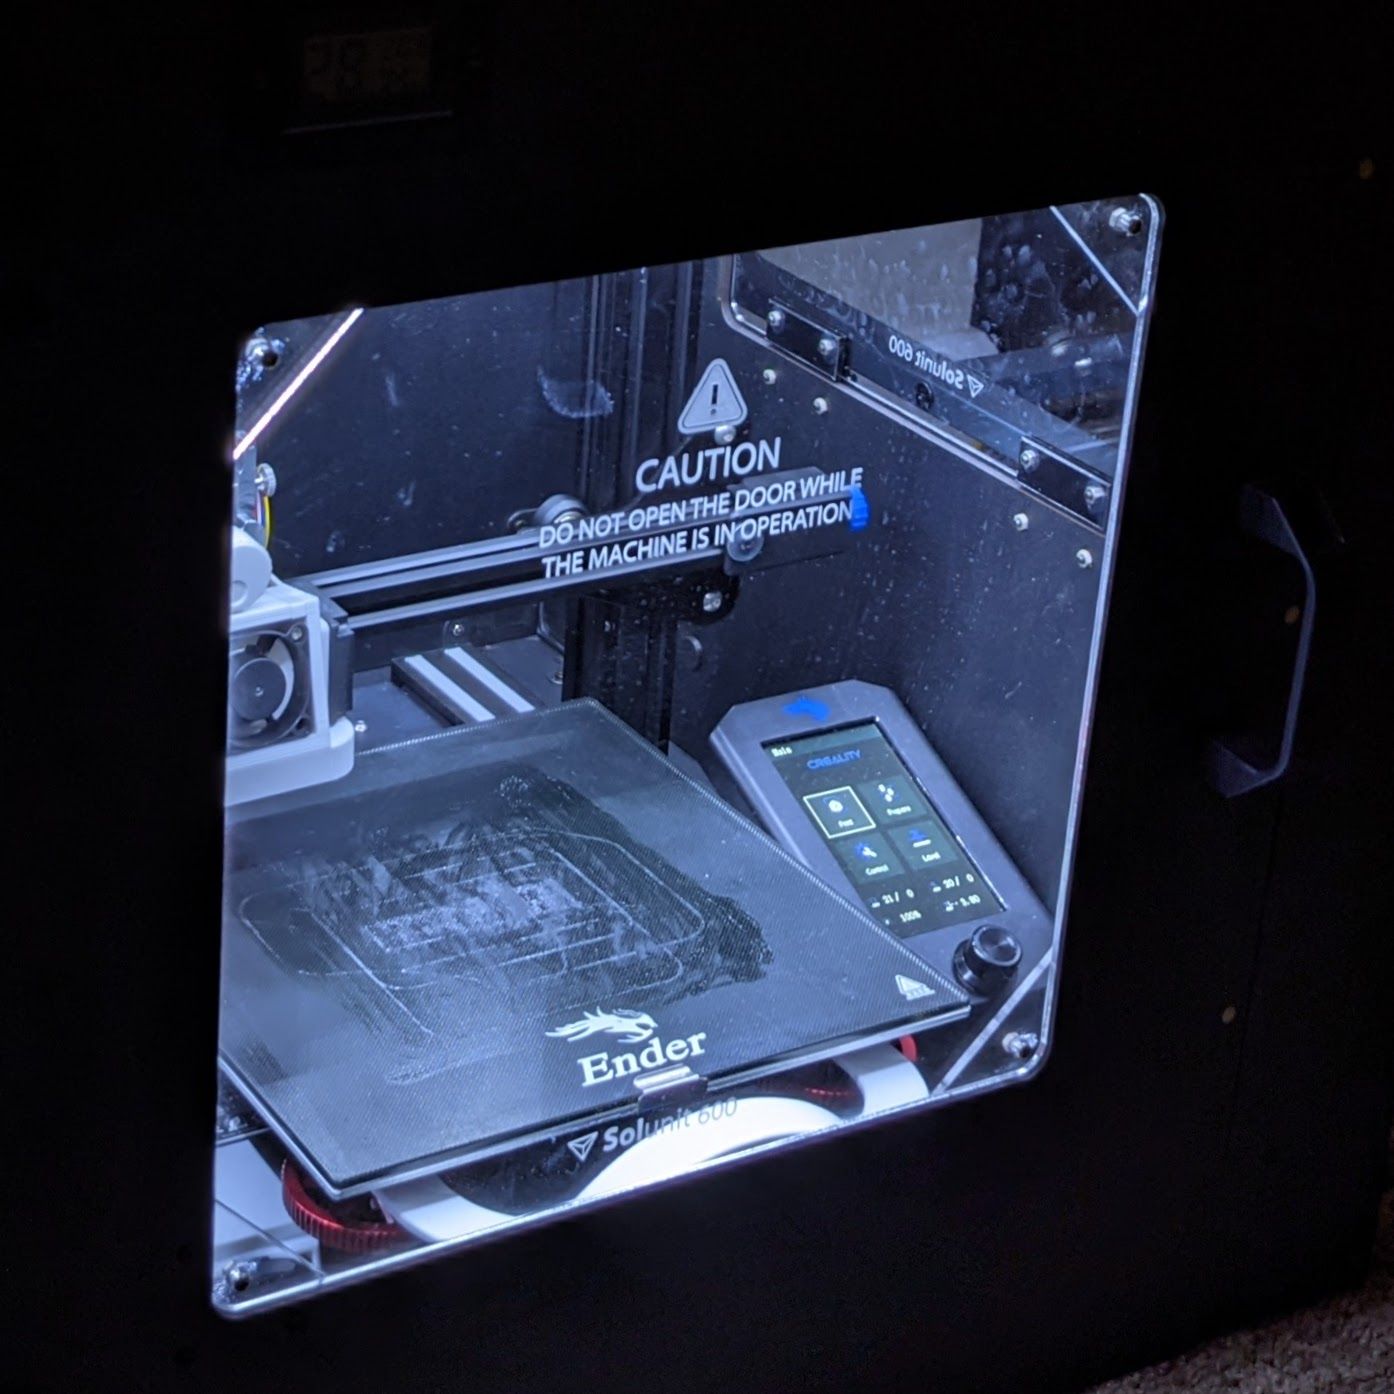
In my case, I have a Tasmota-enabled Smart Plug that controls the power of my Ender 3 V2 (which is connected to the Raspberry Pi over USB) and a LED light strip that is also connected to one of its USB ports.
When I turn the printer on, using OctoPi's interface, OctoPrint-Tasmota Plugin powers on the Tasmota Smart Plug, and uhubctl enables all the Raspberry Pi USB Ports; bringing the LED lights on and allowing OctoPrint to communicate with the printer.
How to install it?
- On your OctoPi's terminal, install the dependencies:
$ sudo apt-get install libusb-1.0-0-dev - Clone the
uhubctlrepository:$ git clone https://github.com/mvp/uhubctl - Compile and install from source:
$ cd uhubctl$ make$ sudo cp uhubctl /usr/local/bin - Add the
piuser to thedialoutgroup:$ sudo usermod -a -G dialout pi - Add udev rules to the USB hub you'd like to control:
$ sudo vi /etc/udev/rules.d/52-usb.rulesSUBSYSTEM=="usb", ATTR{idVendor}=="2109", MODE="0664", GROUP="dialout"
Important Note: "2109" is the idVendor for the Raspberry Pi 4B's USB hub, if you have a different model, you can runlsusbto identify the correct idVendor. - Reboot the Raspberry Pi:
$ sudo reboot - At this point you should be able to control the USB Hub and the USB LED light strip attached to it; to power it off:
$ uhubctl -l 1-1 -a off - To power it back on:
$ uhubctl -l 1-1 -a on
Configuring OctoPrint
If you are using the OctoPrint-Tasmota Plugin you can skip to the next section.
- Back to the OctoPi's terminal, let's add to the end of the
config.yamlfile:$ vi .octoprint/config.yamleventsenabled: truesubscriptions:- command: uhubctl -l 1-1 -a offevent: Disconnectedtype: system- command: uhubctl -l 1-1 -a onevent: Connectingtype: system - Reboot the OctoPi server:
$ sudo reboot
Now, next time you click on Connect on OctoPrint's interface, it will turn on the USB hub ports. And, whenever it disconnects from the printer, it will turn off the USB hub ports.
Configuring OctoPrint with the OctoPrint Tasmota Plugin
- Go to OctoPrint Settings (click on the wrench in the toolbar).
- Go to the Tasmota plugin settings.
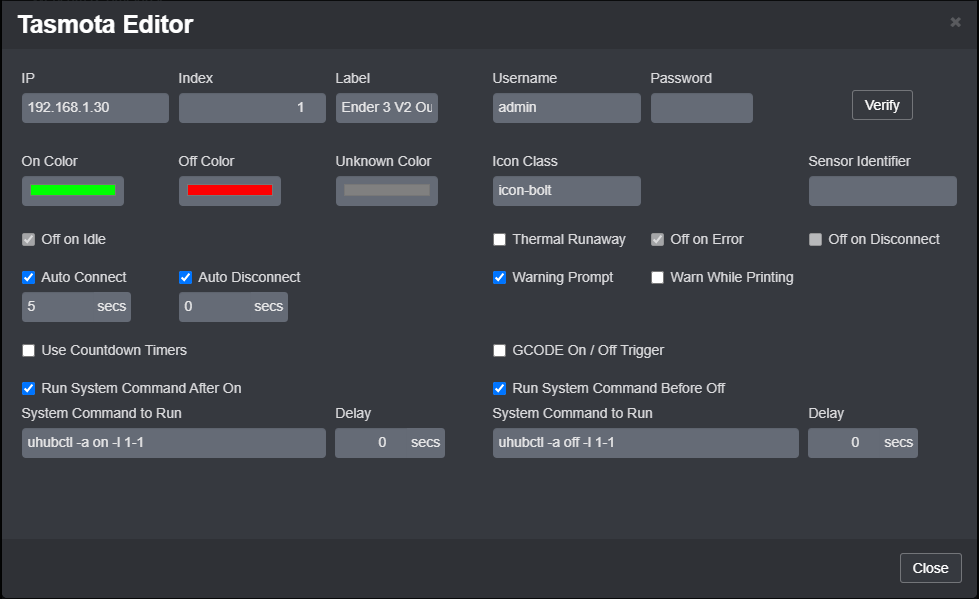
- On your existing plug, click on the pencil to edit it.
- Check
Run System Command After On, and add:uhubctl -l 1-1 -a on - Check
Run System Command Before Off, and add:uhubctl -l 1-1 -a off - Click on
Close, thenSave, and finally,Closeagain.
Now, next time you click on the Tasmota's lightning icon, on OctoPrint's interface, it will turn on the printer and the USB hub ports.