Running Home Assistant OS on my Raspberry Pi, I wanted to edit the config.txt file but with the Home Assistant SSH Server Add-on it would only allow me to see the Supervisor layer (which runs in a Docker container). In this article, we will cover how to enable SSH at the Operating System level.
Prerequisites
- An USB Flash Drive
- Physical access to the Raspberry Pi (or equivalent Hardware) running Home Assistant
- A GNU/Linux terminal (that we will also use to access Home Assistant later)
Generate a SSH Key
Using the ssh-keygen command, create a new authentication key and set a passphrase:
ssh-keygen
(out)Generating public/private rsa key pair.
(out)Enter file in which to save the key (/home/user/.ssh/id_rsa):
(out)Enter passphrase (empty for no passphrase):
(out)Enter same passphrase again:
(out)Your identification has been saved in /home/user/.ssh/id_rsa
(out)Your public key has been saved in /home/user/.ssh/id_rsa.pub
(out)The key fingerprint is:
(out)SHA256:fA/EddGPHHLZoRulOrcJHtpGivaajqRRvTLWYSxAtCA user@localhost
(out)The key's randomart image is:
(out)+---[RSA 3072]----+
(out)|E..o        . oB.|
(out)|. o .    . ...B o|
(out)|   o      o  B o.|
(out)|    . o. .  . = .|
(out)|     o =S o* o   |
(out)|    . + +.*o= o  |
(out)|   . = = o +.o   |
(out)|    = = o .      |
(out)|   . ..+..       |
(out)+----[SHA256]-----+
Prepare the USB Flash Drive
Insert the USB Flash Drive on a GNU/Linux box and make sure to backup any important data beforehand.
For the purpose of this example, we will assume there's a partition /dev/sdb1.1. As root, format /dev/sdb1 as FAT and label it as CONFIG:
mkfs.vfat -n CONFIG /dev/sdb12. Temporarily mount it on /mnt:
mount /dev/sdb1 /mnt3. Copy the generated Public Key as authorized_keys:
cat /home/$USER/.ssh/id_rsa.pub > /mnt/authorized_keys4. Ummount and eject the drive:
umount /dev/sdb1 && eject /dev/sdbPrepare the Home Assistant OS
Insert the USB Flash Drive on the Raspberry Pi (or equivalent Hardware), and restart the Home Assistant host by going to Settings > System > Restart:
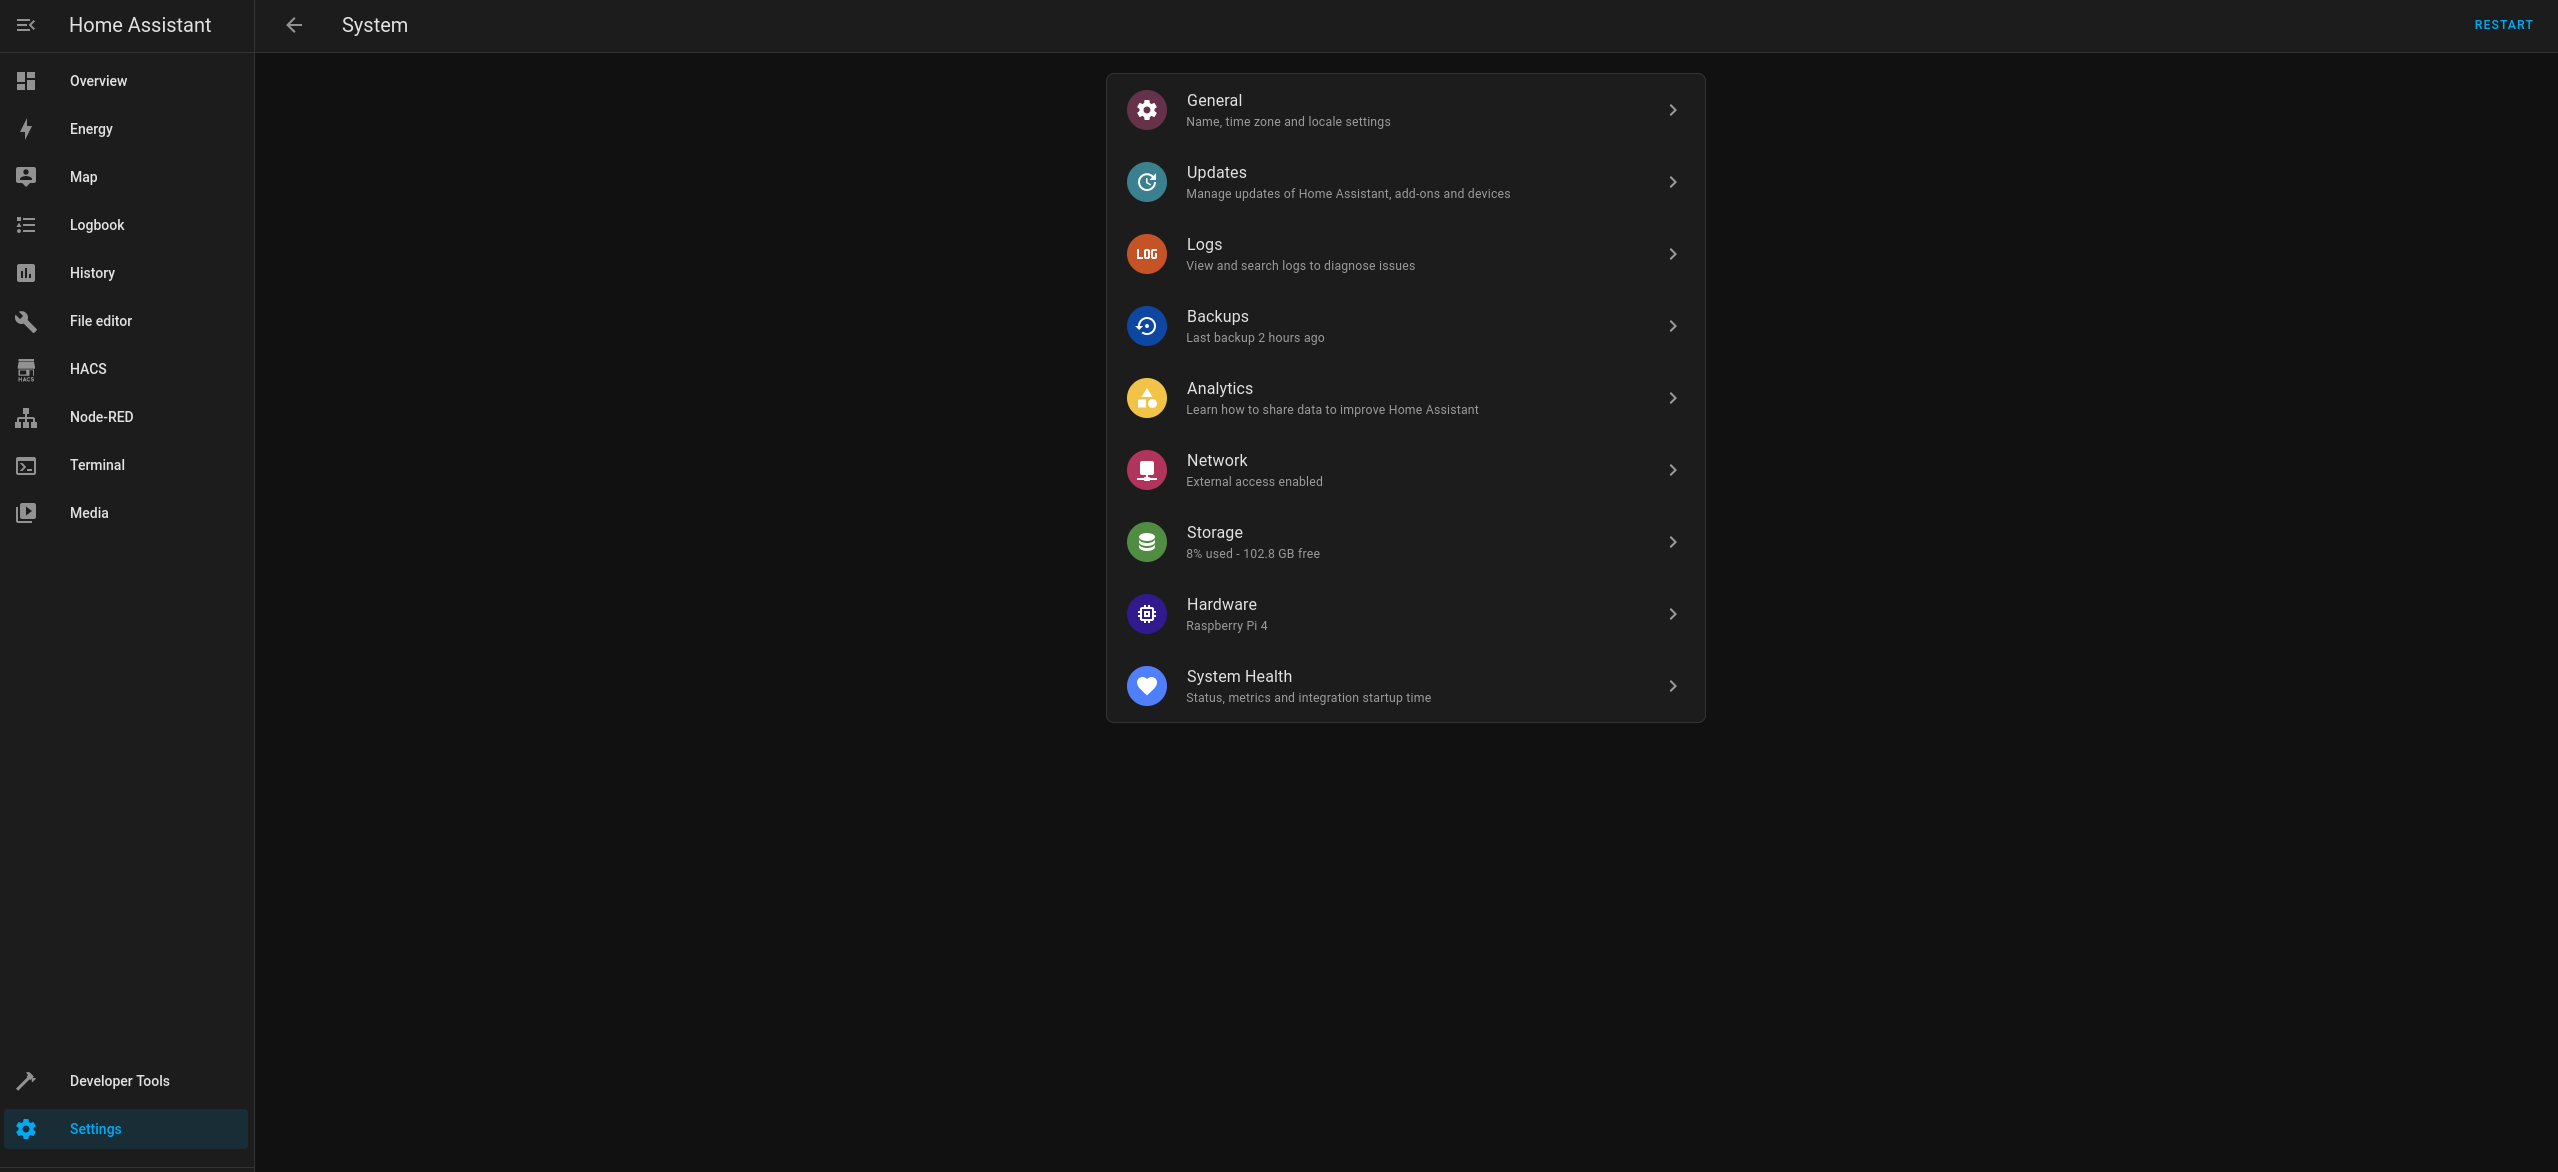
The authorized_keys file will be imported from the USB when the Home Assistant OS is rebooted.
Alternatively, with the SSH Server Add-on installed, runha os importto import theauthorized_keysfile:
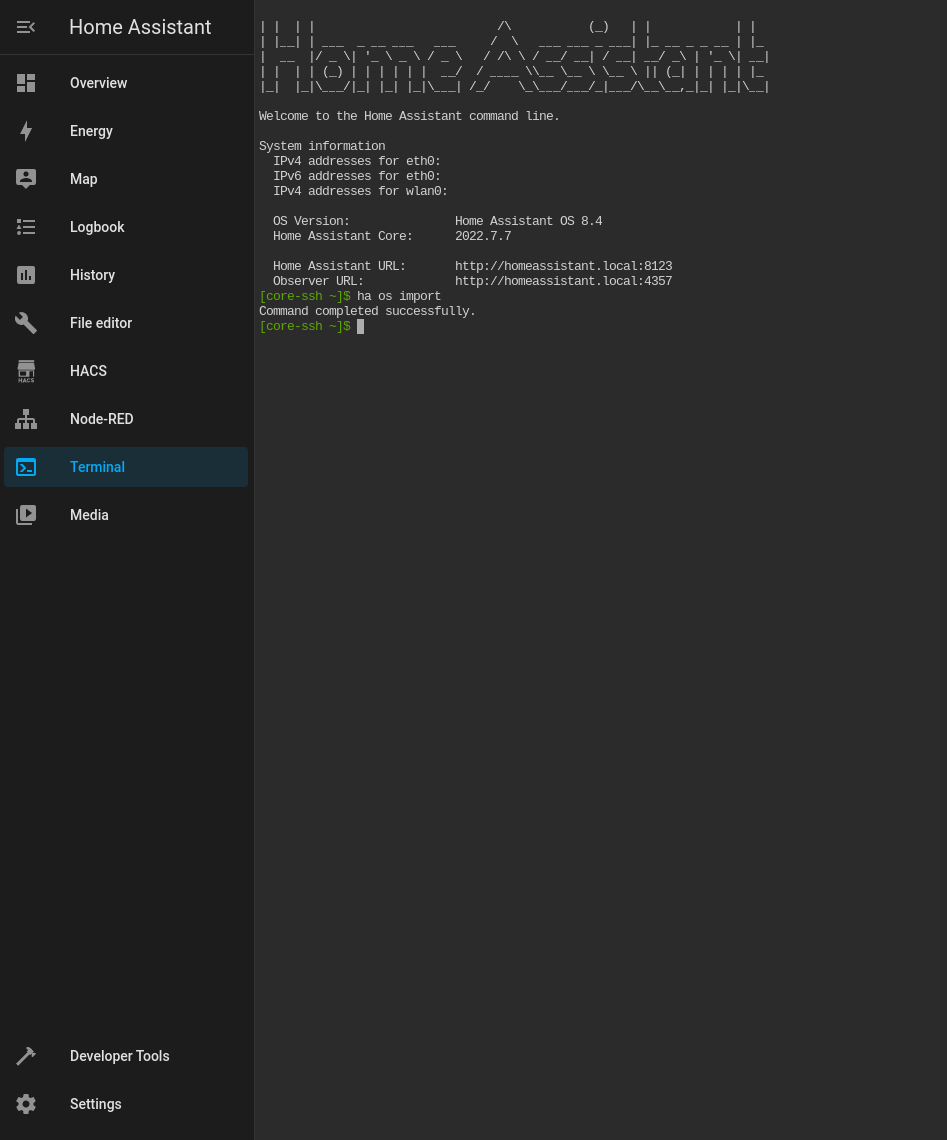
Once either of the actions above are done, feel free to remove the USB Flash Drive.
Access the Home Assistant OS
Finally, the SSH Server at the Operating System level should be enabled and available to authenticate using the generated authentication key on port 22222:
ssh [email protected] -p 22222The config.txt file
On Home Assistant OS, the config.txt file can be found at /mnt/boot/config.txt:
vi /mnt/boot/config.txtCheck out this article on how to Control the Fan Speed on the PoE Hat for the Raspberry Pi.